
Ok, so you planned for your renovation, set a budget, picked a contractor, ordered the fixtures, and you have a demo day on the calendar. The adrenaline is pumping…time to panic, right? Hang on, friends. I’ve got you! Let’s walk through what you can do to prepare and make the process more enjoyable.

Gallery Wall | Curtains (Etsy) (Amazon) | Curtain Rods | Pendant Lights
There are multiple phases for prepping, especially if it’s something that’s been on the calendar. I’ve been prepping for this primary bathroom renovation for months—actually years! However, once we added the living room and dining room, things got a little more intense. Now we’re talking about moving more furniture and art…and changing more of our routines as a family.
Yes, there’s physical prep, but there’s also socio-emotional prep to think about. And it’s worth getting your home—and your head— in a good place before you get started. Here’s how I got ready for our current reno!
Phase 1: Start to Declutter

Primary Bedroom Sources
First things first, I cleaned out my closet (which is being demolished to build out the walls) over a few weeks. This is the decluttering phase. And I think of it very similarly to moving: If you’re renovating a room, you don’t want to pack up and haul around anything more than necessary. Purge what you don’t need!
As you inventory, think about what decor, furniture, etc. you may want to sell or donate. I’ve been selling things since before Christmas, and I did a big donation earlier this month.
However, don’t go too far—we were planning to donate/sell our living room sofas so we could order new ones that match, but at the last minute we decided to store the furniture in the guest house JUST IN CASE we order new ones, and they’re backordered or have delayed shipping timelines.
The last thing you want is to have your space redone and no real way to enjoy it. If you need to get a storage unit for a little bit, that may be worth it. The quicker you can get your home life back to comfortable, the better.
Phase 2: Pack Up & Store
Next up is the “packing up” phase. Our timeline for being out of our primary bedroom and bathroom is around four months. We’re pretty optimistic about that (of course everyone is at the beginning of a timeline), but we packed up everything we won’t need in the next four months.

Attic Sources
In terms of apparel, I put away our winter sweaters, coats, and thicker items. I’m not going to wear black leather pants this spring! I got a bunch of nice big plastic bins and added things by clothing type.
Packing up the bathroom stuff was harder. To me, that became a pack or purge dilemma: if I don’t need this bathroom stuff in the next four months, do I need it at all? I ended up packing more away with this thought process: Even if I don’t use this darker eye shadow palette or this nail color every week, it’s fun to have the option of it. And it doesn’t take up that much space in a box.
Just like in a move, make sure things are stored carefully (especially lighting fixtures or breakables) and labeled well!
Phase 3: Create Personal Comforts

Temporary Bedroom Sources
The name of the game is making your temporary living space the most comfortable experience possible within your budget.
Renovation is stressful, and you need to have a look-forward-to-it landing spot at the end of the day. You have to feel like, “Ok, this is my place of peace.” So as organized as you can make it, as easy as you can make it for yourself, do those things!!
For instance, you cannot live out of boxes and suitcases for four months! That might be fine for a short period, but you need a basic semblance of normal routines at some point.
To make our playroom more like a real bedroom, we installed curtain rods and moved the curtains from the living room here where there weren’t any before. I didn’t have enough panels for both the hallway and the playroom so I ordered these Amazon curtains and to my surprise and delight they’re a near-perfect match to the Etsy ones. (Just another case for my new favorite “neutral” curtain color working everywhere! )

Garment Rack
We also bought wardrobe racks on Amazon. Since we’re using Greta’s shower, we bought shower caddies and bathroom storage items.
Sometimes having a new little “camp-like” tradition—taking my shower caddy in and out of the bathroom—makes it feel a little more like a manageable scenario, rather than putting our stuff all over Greta’s bathroom and turning that space into an overwhelm. Even though it’s a little inconvenient to be out of our normal bedroom/bathroom/closet, we’ve made our temporary situation a place where we can still enjoy relaxing away from demo. That’s the goal.
Phase 4: Protect What’s Staying
Once you have most things out of the way of the renovation, it’s time to do the labor-intensive job of protecting what’s still in those rooms—from floors to furniture. It took our contractor team around 5-6 hours to prep 5 rooms, and that’s a bunch of professionals working together. So if you’re prepping it yourself, you really have to allot for a full day of prep, and have the materials on hand!
Since this reno won’t really be fixing the floors except for in the primary bathroom and some touch-ups in the living room now that the pass-through is moving over a tad, Kennon Construction team put down Guardia Surface Protection Polyethylene Drop Cloth on all the floors. Then they put ram board over the floors as the next layer to provide more protection against dents and dings from drops and a little resistance to wet shoes and small spills.
After that, in areas where the crew will be tracking inside and outside a lot, they added a thin particle board aka pressboard that they walk on. So the floors are very protected! They’ll take the last layer up after the more intensive parts of demo are done (like after the skylights and beams are in the ceiling).

Finally, they added plastic sheeting over any furniture that didn’t stayed in place, such as our Sleep Number bed which was too heavy and bulky to move upstairs. They’ll also cover the dining room walls to protect the wallpaper from paint splatters once we get to painting that ceiling.
Pretty much nothing is staying in the primary bathroom, so there’s no real need to protect that space!
Phase 5: Minimize the “Noise”

Sure, there’s the actual noise of construction—taking down walls, cutting tile, and all of that, which means more breaks to get outside or relocate to a quieter, more calm space in your home.
Right now just over a week in, we’re still in the “exciting phase.” It feels like camping out in our own house…getting to see our home from a new perspective. That actually can spur you on to repeat Phase 1, but in new areas. After I purged and organized our bedroom and bathroom, now I’ve been tackling the kitchen!
Part of that drive stems from the need to organize and minimize what feels visually disrupting in other spaces. I usually have some things on the island, from a vase and faux flowers to a bowl of fruit. But you know what? Last Saturday, I couldn’t take any extra “noise” visually, so I had to put that all away—for now at least.
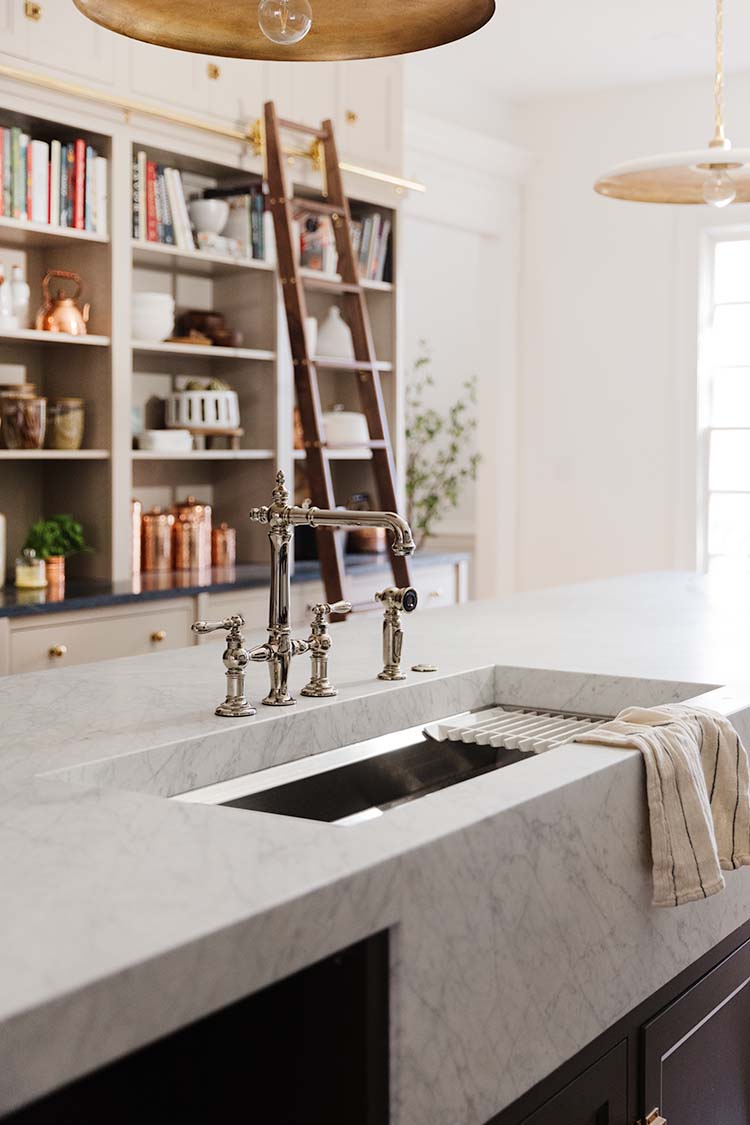
Kitchen Sources
It’s helpful to have fewer things on your surfaces when your living spaces are more constricted, so you don’t feel that sense of chaos or claustrophobic.
Phase 6: Find Your New (Temporary) Rhythm

Floor Mirror | Curtains (Etsy) (Amazon) | Curtain Rods | Pendant Lights | Vanity Mirror (similar) | Acrylic Makeup Organizer | Acrylic Stool (similar)
Change is always a bit stressful on a family. New routines, rerouting traditional rhythms…it’s not easy. So it’s important to give yourself grace, accept what you can accept, and pivot when you need to!
For instance, we eat dinner together at our table 6-7 nights a week. We are a dining room table kind of family—we play games there often. It’s just where we come together. With the dining room already dismantled, we’re eating next to each other at the kitchen island like ducks in a row. It’s felt…really weird. Is this going to last all four months? Probably not. Hopefully we can eat outside more now that the weather’s nicer or maybe we’ll set up a temporary table somewhere else in the house. No idea is off limits at this point! It’s a really fun time to try new things that you’ll always remember, too!
Now, Eyes on the Prize!
Renovations can be long and drawn-out, but the end result is always worth it, in my opinion. The more you plan and prep, the more you’ll be able to be flexible when (inevitable) roadblocks or delays come your way.

Even when the dust and noise and disruption feels inconvenient, I don’t like to complain too much. I know it’s a privilege to be able to save our money and invest it in our home to make it feel more like our style. No one is forcing us to make these changes! The day that I get to step into our new primary bathroom that goes from an outdated 1980s room to a beautifully moody spa retreat, the time and stress it took to get there will seem to fade away.
A positive perspective can go a long way. And that will affect your kids’ moods as well. Make it fun for them if you can even in small ways. They’ll feel that stability and remember those bonding moments in a way that’s really grounding during change!