
This blog post is sponsored by The Tile Shop
One of our Instagram followers replied to a preview photo of our mudroom tile with the comment that “it’s giving…’I live in a boutique hotel,’” and they couldn’t be more right. Every time I step into the hallway, I feel like I’m strolling into a glamorous patisserie in Paris or a five-star lobby in NYC. I wanted to share more details about how we created the look in case you’re hoping to replicate something similar in your home. So I’m turning it over to Chris to share the behind-the-scenes process with you.
Why the Change to Tile
Chris here. So the back hallway and mudroom had a bit of a problem. It had wood flooring that separated with the hot and cold temperatures through the seasons. That was what spurred on the idea of redoing the floors.
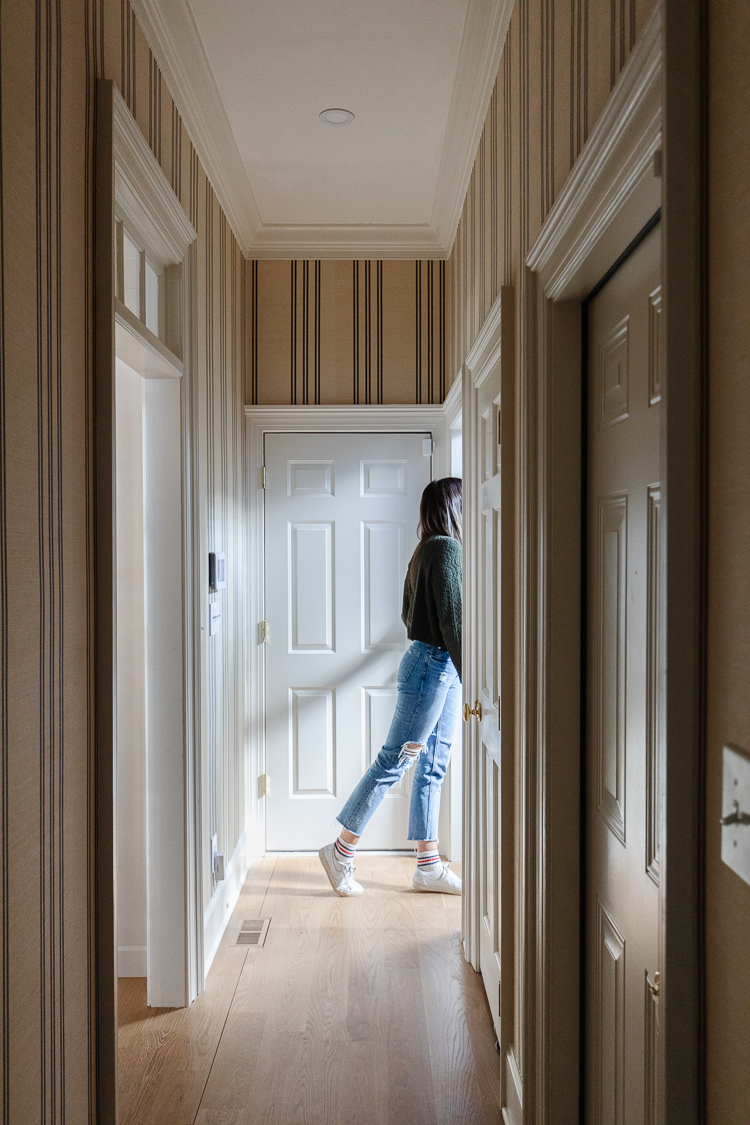
Striped Grasscloth Wallpaper
We immediately thought of The Tile Shop. We’ve used their tile in lots of projects in the past, including the penny tiles in our downstairs powder room and five different tiles (!) in the primary bathroom in our last home.
When we landed on tile for its function and decorative qualities, our contractor ripped all the hardwood out — Which actually ended up causing some pretty big gauges in the subfloor that they then needed to fix. The way that they fixed it was to lay down an extra thick layer of thin-set mortar with a concrete board overtop. And then they used the level as they were screwing it down to ensure the substrate there was nice and even.
From there, they taped and mudded the seams to make it seamless on the substrate so that — as the seasons shift — we will no longer see the gapping that we were getting in the wood.
How We Decided on the Look
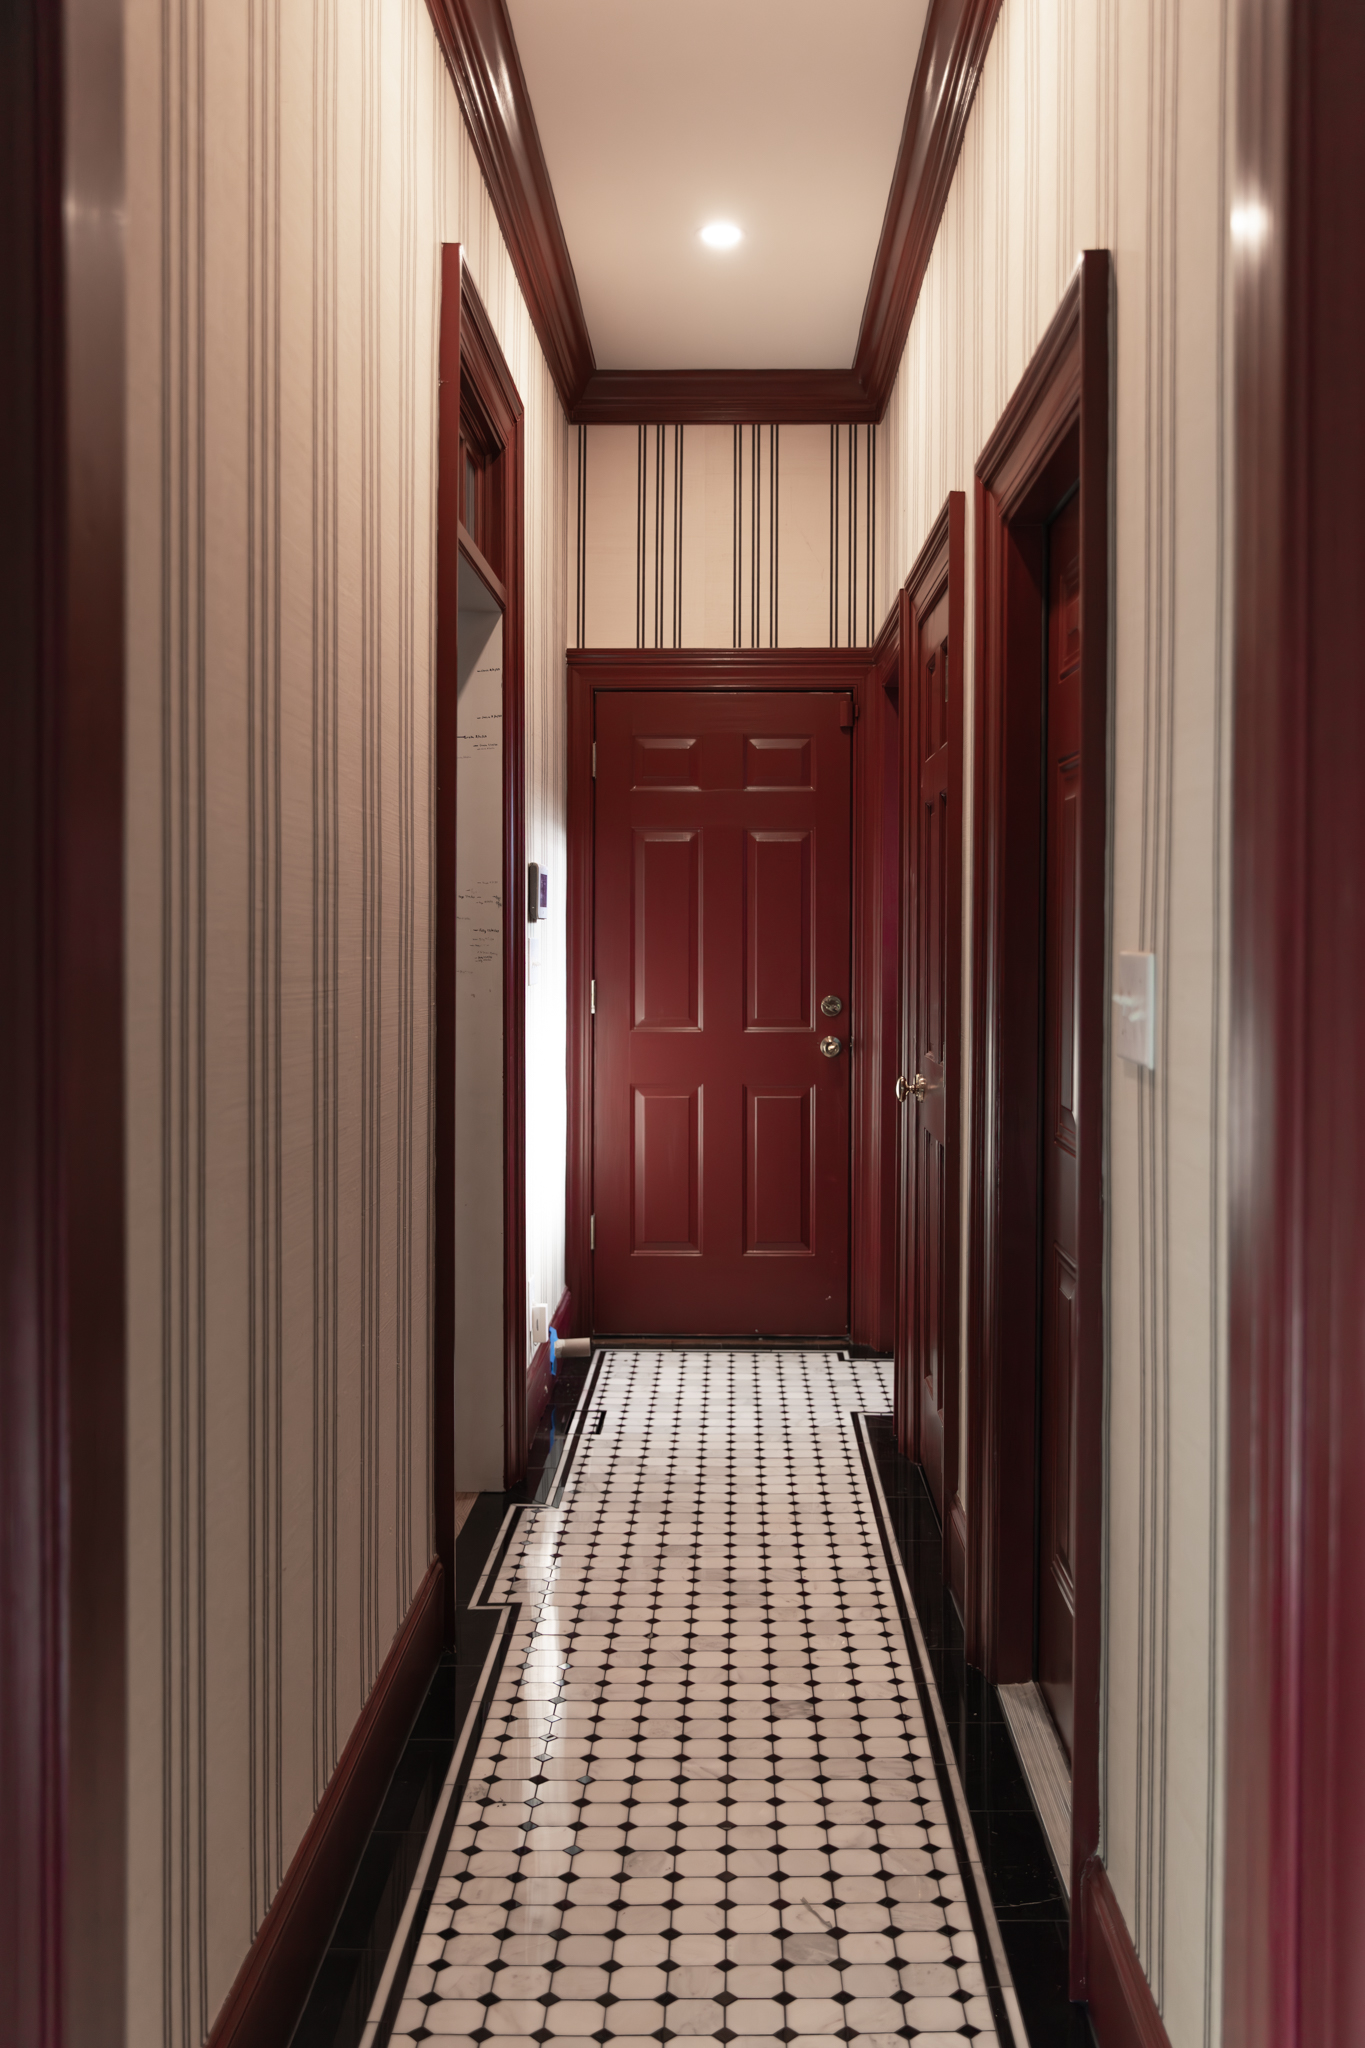
We saw some inspiration online for a hallway that was just so classic-looking. So we created a mood board and went to The Tile Shop to see what we could find to match that vision. Originally we picked one thick black border around the central white octagonal with black dots tile pattern. But then Julia wanted to add a more detailed look with two adjacent pencil trim tiles. We picked one that matched the lighter marble stone in the main area. And then we decided to add another pencil trim in a black border.
The Tile Shop had the lighter pencil trim available, and we were able to cut the black pencil trim out of original black border tile, placing the cut edges into the wall so that it was below the baseboard and you couldn’t see it. It was so worth it — I think these pencil trims made all the difference in how the pattern pops.
The Tile Shop has so many options for trim and accessories that allow you to completely customize your design. Additionally, they often have full collections with coordinating trim pieces making it easy and approachable to get a custom look.
Choosing a Grout Color

Our contractor Kennon Construction brought over a couple of samples in tile grout books. They have plastic chips that match the color that you can set down next to the tile to get the look you want. Typically Julia likes a lighter grout color. However, if we went with a light grout in the mudroom, then the black border tile around the sides would stick out like a sore thumb. She felt like the white tile could handle a darker grout more seamlessly (no pun intended) than the dark tile could handle a lighter grout. So she chose a very dark charcoal that had a little bit of warmth so it would almost blend into the black border tile.
Executing the Tile Installation
The sub-contractor laid the entire border first. We talked through every doorway, how we wanted it to look. Honestly, I’ve never seen a tile worker like this. His attention to detail was just impeccable. He was planning for the doorways: Like you’re coming in this doorway and the pattern is centered, but also how far do you start this other way so that it’s centered on the stairs right next to it. So that you’re not getting weird visual tangents on either one of those areas. We found him through our contractor Kennon; they just have great sub-contractors.
Then the crew built the hallway in the garage out of pieces of wood so that they could measure that perfectly and dry lay sections of the hall and the mudroom out in the garage. The reason they did that was that they wanted to perfectly center the tiles in the hall in that space. It helps make sure everything lines up evenly.
So they measured the space they had to lay tile and then used wooden stripes. They would glue them together and clamp them out in the garage. Then they would measure that, cut the tile and lay it in big sections in the garage. They would stack that section up in the garage and then work on the next section. So they had the entire area dry-laid, cut and ready before they even started laying anything in the actual space.
And so once they got into the room, the crew started in the back corner in the mudroom. They were able to lay everything within a few hours. And everything was just perfectly lined up.
If you’re going to DIY something similar to at home, one tip from our tile installer is to put masking tape or painter’s tape on the cut lines to reduce chipping around the mitered edges and cuts. Tape the cut lines and cut very slowly to get those perfect seams that look professional.
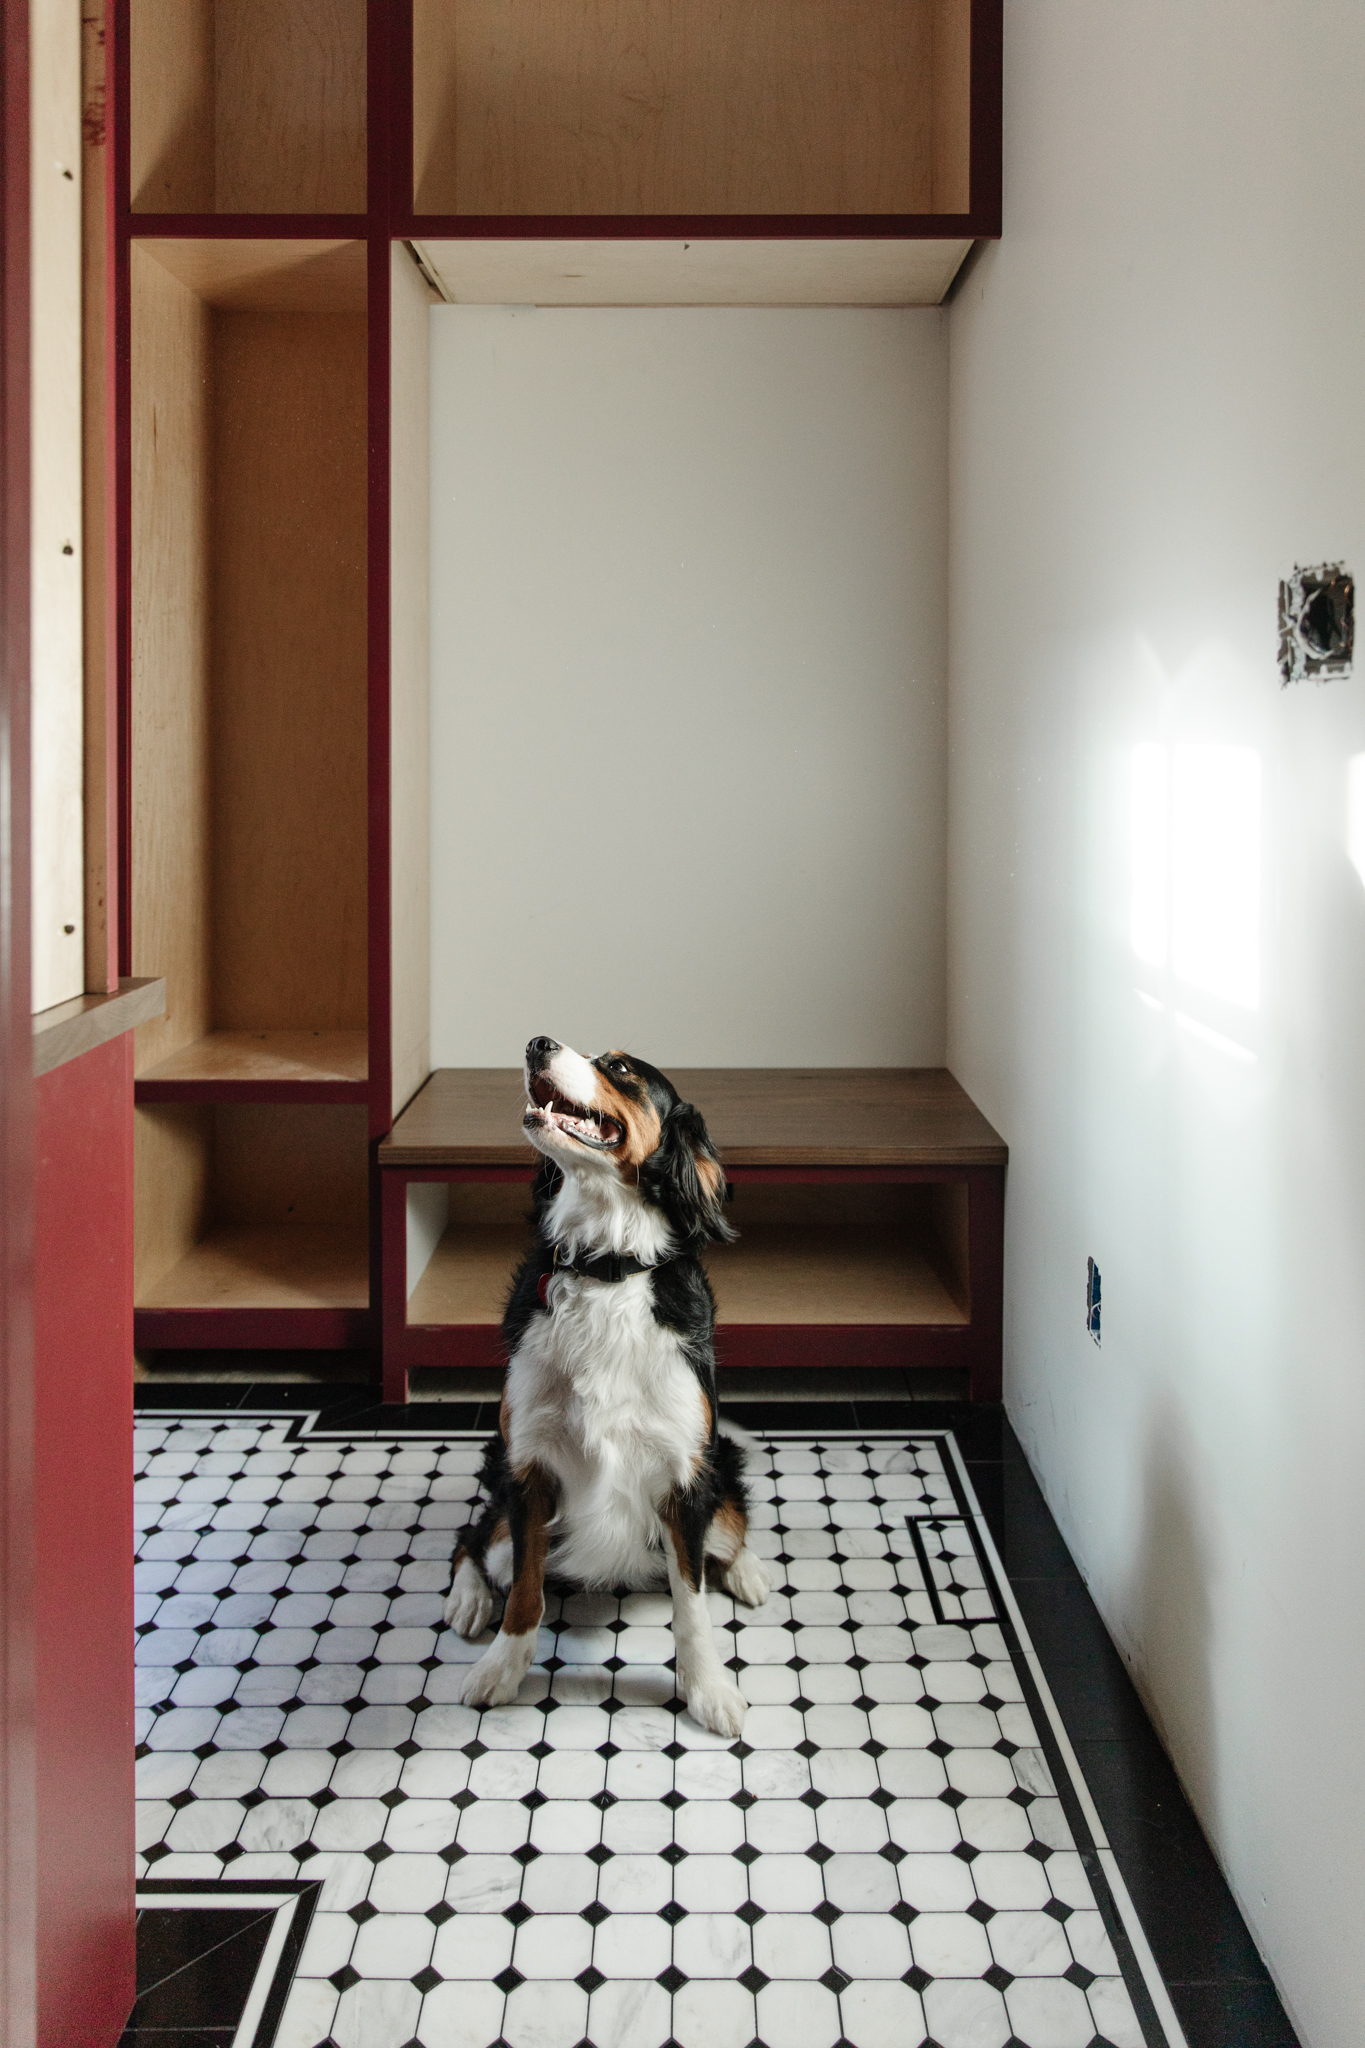
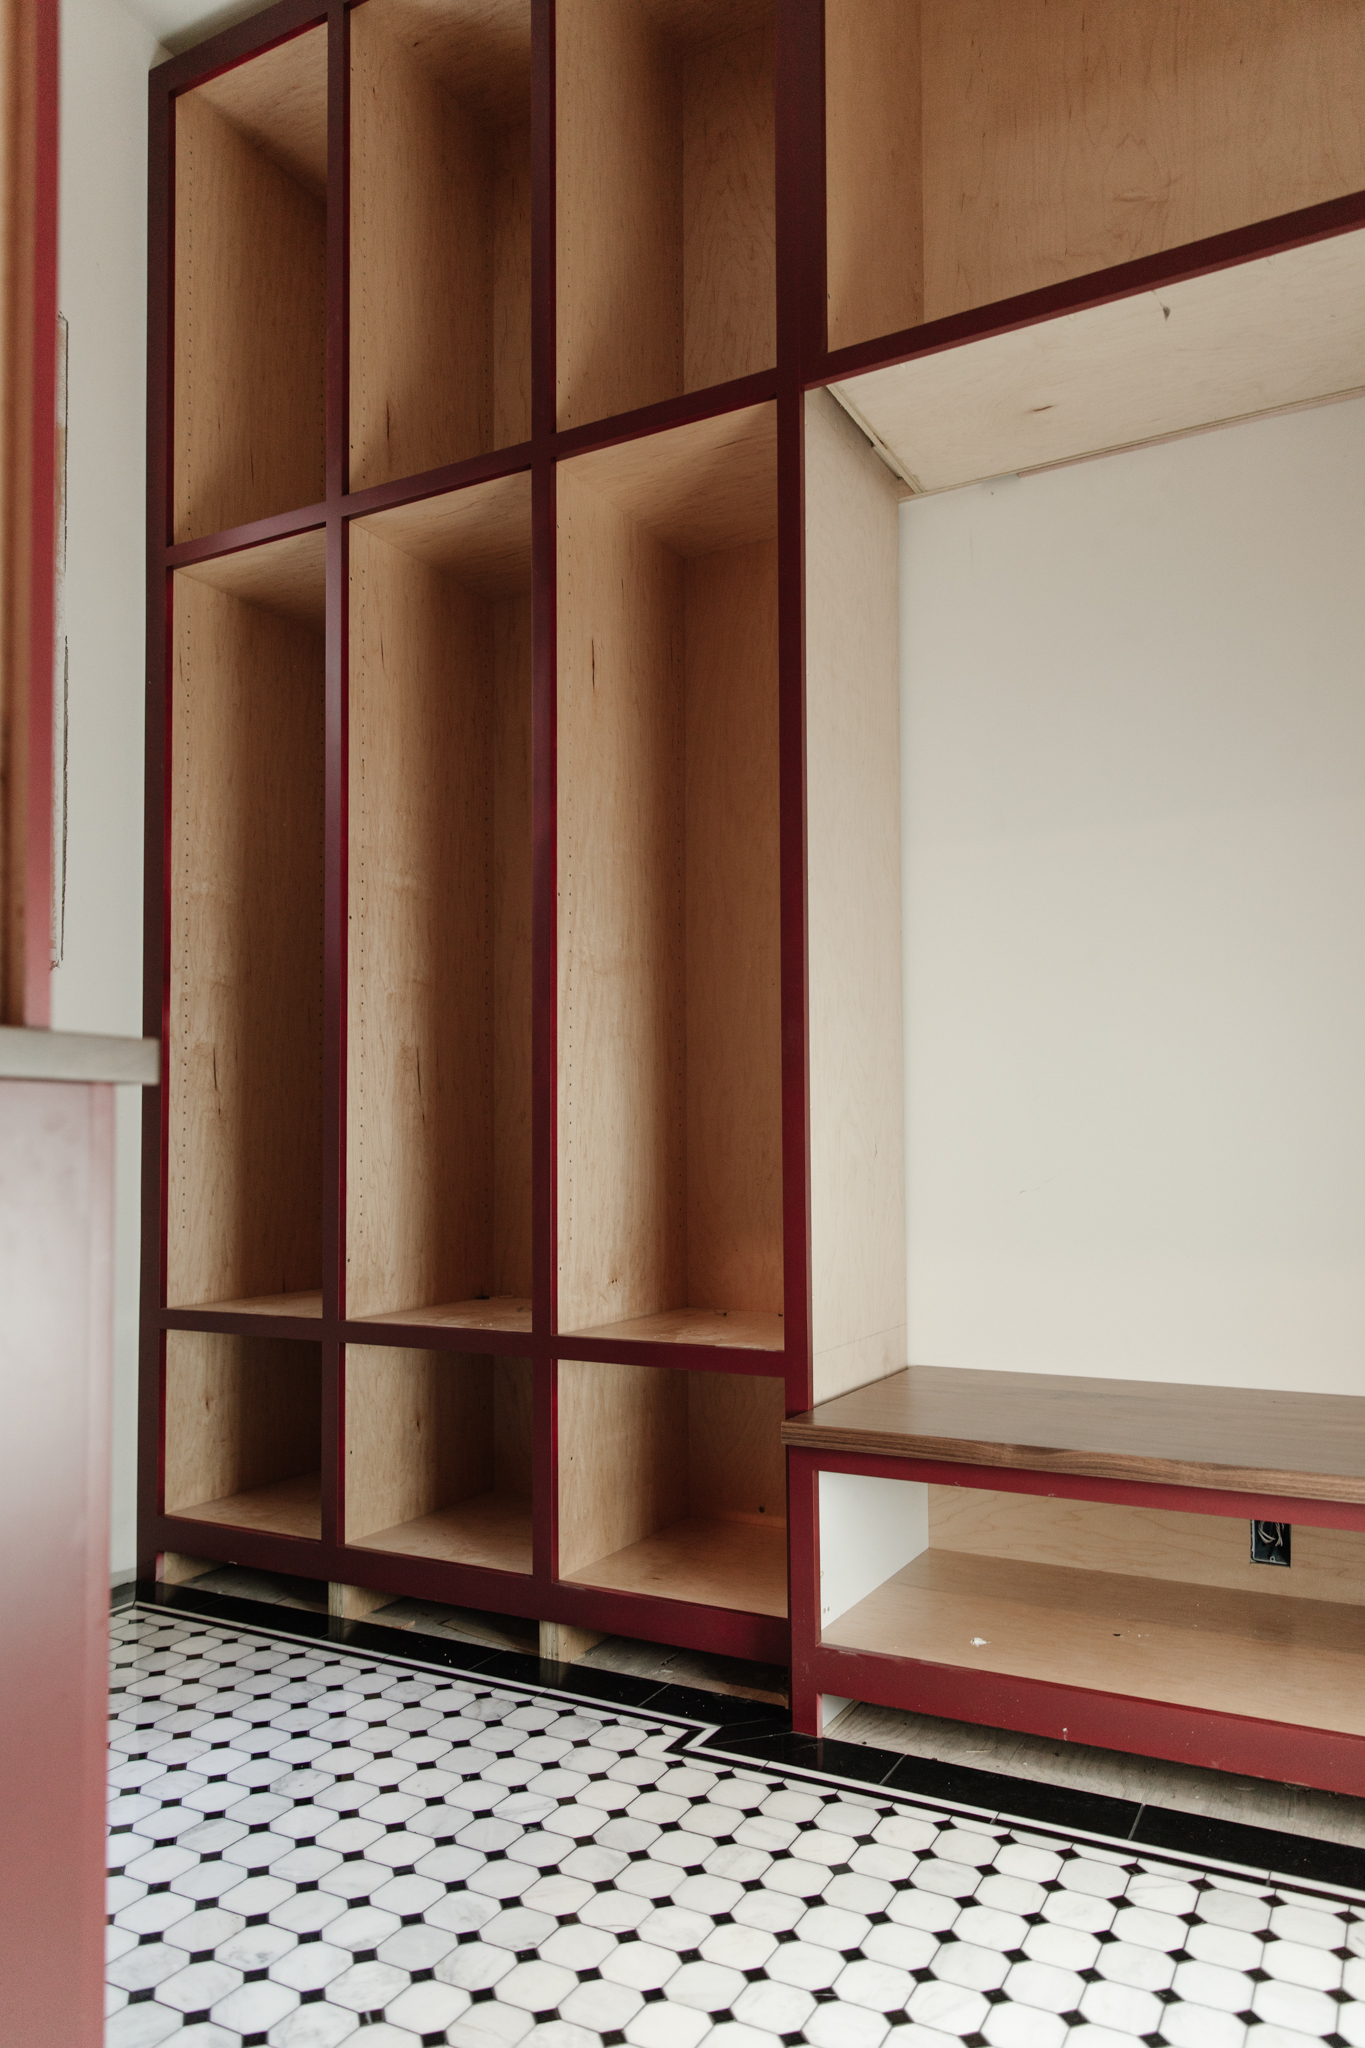
It’s so rewarding to see a vision come to life like this in stunning black & white. In case you’re interested, we’ll share more about the dog-friendly nook at another time, so stay tuned!